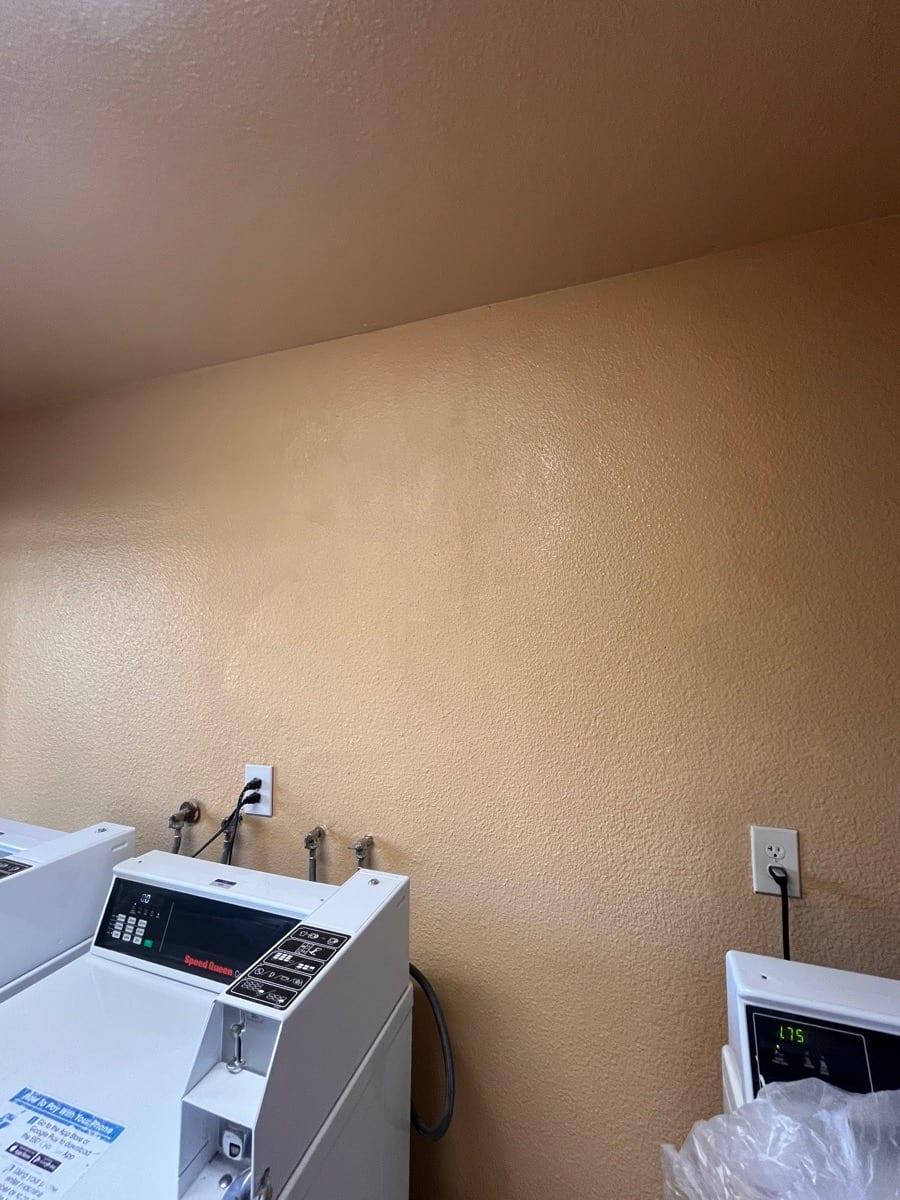
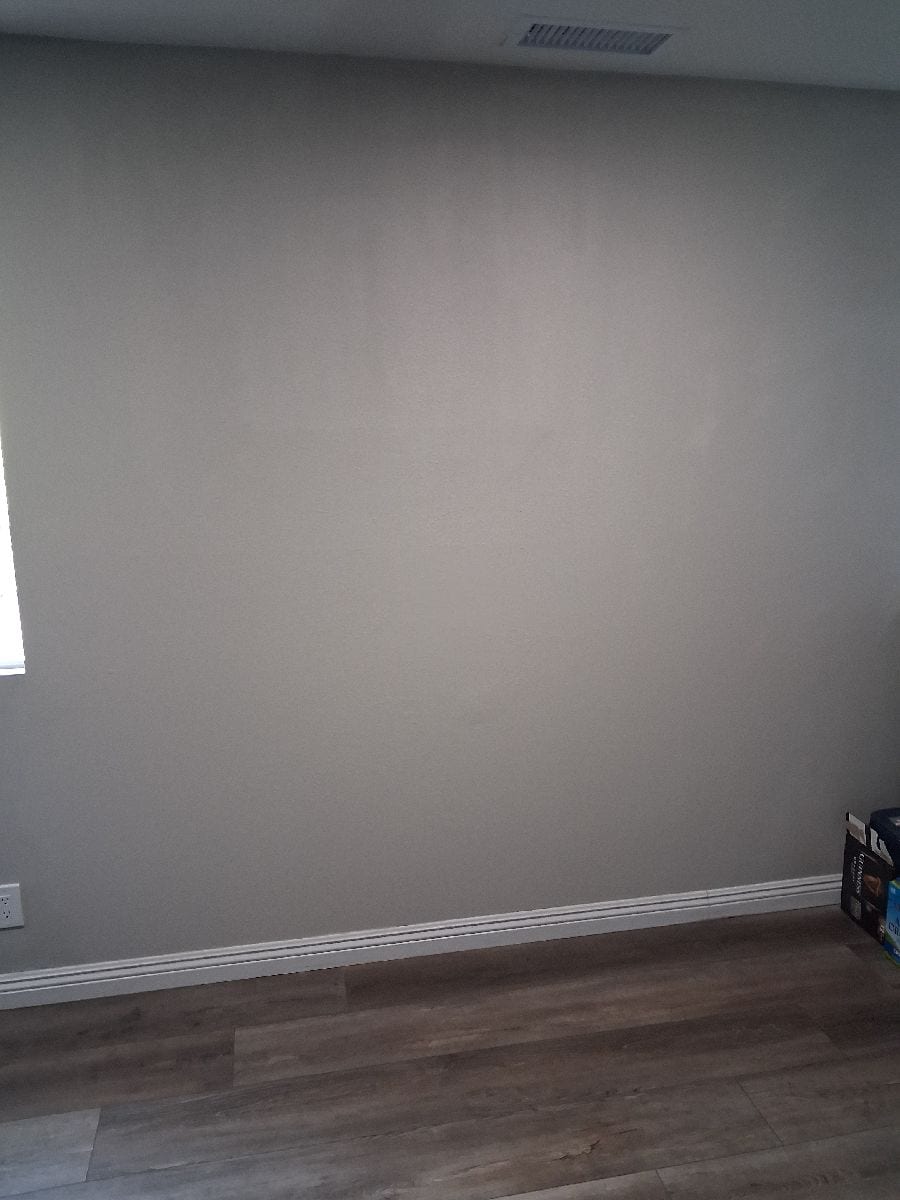
Texture can be matched closely, but age, prior paint, spray pattern, knockdown timing, lighting, wall plane, and blend area can keep a localized repair from disappearing completely.
Texture match depends on material, water ratio, pressure, nozzle, knockdown timing, existing paint layers, lighting, and how wide the blend area can be.
Choose the Finish Before the Repair Starts
For orange peel, send an angled photo showing the size and spacing of the bumps. For knockdown, show the flattened pattern and surrounding wall. Smooth walls need careful plane and sanding review because side lighting can reveal edges. The scope should identify a localized texture blend or broader wall or ceiling finish work before pricing.
Paint Can Reveal the Patch Boundary
Existing paint can change from age, cleaning, sunlight, sheen, touchups, and prior batches. Exact spot-paint matching is not guaranteed. Broader wall-to-corner or ceiling-plane painting may be recommended when finish consistency is the main goal.
Repair or Replace
The Right Scope Depends on the Condition
Localized patching
May make sense when damage is small and isolated, the surrounding board is sound, the cause is corrected, and the finish boundary is accepted.
Localized board replacement
May make sense when the opening is large or irregular, edges are weak, water damaged the core or paper, or framing and insulation access is needed.
Broader wall or ceiling work
May make sense when there are many patches, visible prior repairs, smooth-wall finish goals, uneven texture, or paint consistency concerns.
Finish Choices
Level 4 or Level 5? Start with the room’s light and paint.
A texture pattern and a finish level describe different parts of the work. Level 5 adds a skim coat across the whole surface; another coat over a seam alone does not qualify. Compare drywall finish levels 1–5 before choosing the repair and paint boundary.
Watch AWC at Work
See the details behind a drywall repair
Real AWC footage shows how texture, light, and compound work affect a patch. Watch the repair take shape, from floating the patch to checking the texture under room lighting.
Checking the ceiling texture blend
See AWC check the transition between existing and freshly sprayed ceiling texture using the light across the surface. Wet texture reflects light differently before it dries, so appearance needs another look after drying and painting.
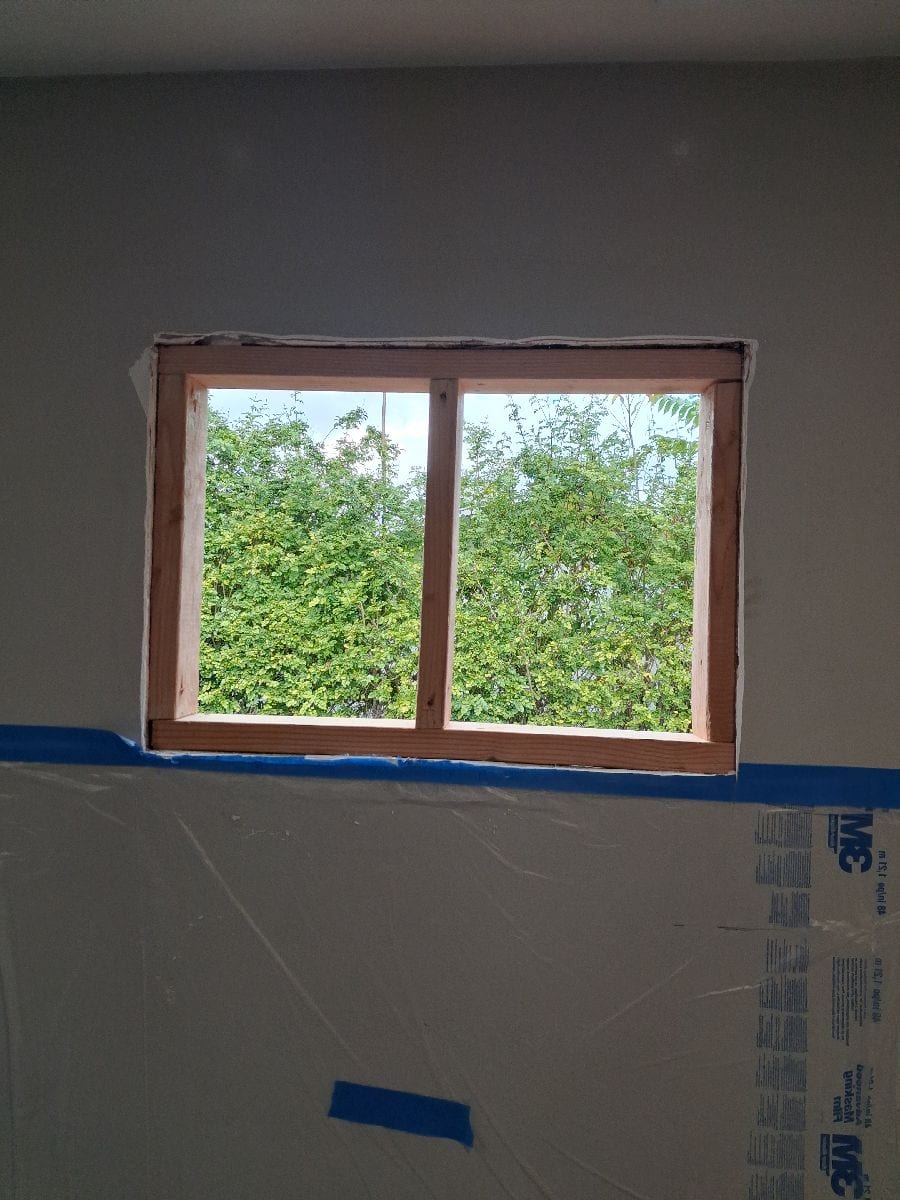
Follow the wall repair after a through-wall air conditioner was removed: pre-fill, tape, compound passes, feathered edges, and knocking down ridges before texture. These details help the repair meet the surrounding wall.
Choose “Load video” to connect to YouTube’s player, then press play. Primer, paint, texture blending, and the final repair boundary should be stated in your written scope.
Process
From Damage Photos to Finished Repair
1
Send Photos and Property Details
Send the address, wide and close photos, dimensions, cause, source-correction status, access notes, and desired finish.
2
Confirm the Repair Path
We review whether useful photos are enough, a service visit is needed, or the conditions call for a written site evaluation or specialty review.
3
Written Scope and Options
The scope states the repair area, removal, backing, board, tape, coats, texture, primer, paint, protection, cleanup, assumptions, exclusions, and finish expectations.
4
Protect and Prepare
Access is coordinated, floors and contents are protected as practical, loose material is removed, and sound edges and backing are prepared.
5
Patch, Tape, Finish, and Texture
Approved board and backing are installed, joints are taped, compounds are applied, and the approved texture is blended as closely as practical.
6
Prime, Paint, and Close Out
Primer or painting is completed only when included, the area is cleaned, and closeout notes or photos are provided where part of the approved scope.
Drying time, coat count, texture type, ventilation, access, and paint scope affect the number of visits. One-trip completion is not promised for every repair.
Larger or Complicated Scopes
$250 Site Evaluation + Written Bid Package
$250 Site Evaluation + Written Bid Package. The $250 is credited back if the construction project is approved within 30 days. It is not a deposit. Ordinary small repairs may not require it.
Work subject to attached T&C if approved. Hidden damage, code issues, access problems, or owner changes may require a written change order.
Multiple rooms, units, buildings, or repair locations
HOA, apartment, insurance, or property-management approval
Active or recent water damage with uncertain extent
Large ceiling or wall replacement
Repeated cracking or failed prior patches
Occupied-property phasing, measurements, and closeout documentation
Orange-peel texture can often be matched closely, but spray pattern, age, prior paint, lighting, wall plane, and blend area affect the final appearance. The proposal should state whether the repair ends paint-ready, primed, or painted.
Can you match knockdown texture?
Knockdown texture can often be blended within a practical area. Timing, material, existing texture thickness, prior repairs, and paint history all affect how closely the localized repair blends.
Can a drywall patch be completely invisible?
A well-executed repair should be flat, tight, and blended as closely as practical. Exact invisibility cannot be guaranteed because texture, wall plane, prior paint, sheen, color, lighting, and aging affect the final appearance. The proposal should state whether the repair ends paint-ready or includes broader primer and painting.
Does drywall repair include painting?
Painting is included only when it is listed in the written scope. Some repairs end paint-ready, some include spot primer, and some include broader painting when finish consistency is the main goal.
What does paint-ready mean?
Paint-ready means the approved drywall patch, finish, sanding, and texture work are complete enough for the agreed painting step, but primer, paint, masking, sheen matching, and broader wall-to-corner painting are separate unless included.
Next Step
Get a Clear Drywall Repair Next Step.
Call, text your photos, or use the secure repair form. Include the property address, what caused the damage, and whether the source is fixed.